Your First Button
The best part about the starter code you uploaded is that it will automatically check any buttons you hook up to the Teensy. So, let’s hook up a button and see something happen! After that, we’ll take a step back and learn more about the Teensy, it’s pins, and how you can start customizing the starter code.
By the end of this section we should be able to connect your Teensy to your computer and it work like a keyboard!
The Humble Wire Cutter
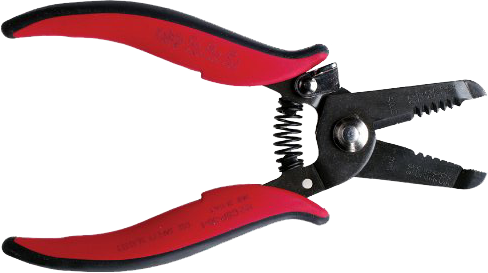
We’ll need to cut a few pieces of wire so we have something to hook up our button with. You’ll need to find your solid core wire, strand wire, and wire stripper. If you examine your wire stripper you’ll notice the inside of the jaw is flat, that is used for cutting wire.
This is your wire stripper. Get to know this tool, it is your best friend!
|
|
If you haven’t stripped wire before, take a look at this Working with Wire Tutorial. Take a few minutes to practice before the next steps. |
List of Supplies
-
2 x 5 inch (or longer) pieces of strand wire
-
2 x 3 inch (or longer) pieces of solid core wire
-
Teensy LC
-
Breadboard
-
Arcade Button
Stripping Some Wire
|
|
If you aren’t sure which spool of wire is strand or solid core, just bend it a little. The stiffer wire is solid core! |
Take each piece of strand wire and strip about an inch off of each end. Then take each piece of solid core wire and strip 1/2 inch off each end.
|
|
Please always wear your safety goggles when you are you cutting, stripping, or soldering wire! |

Figure 1. All the supplies you need.
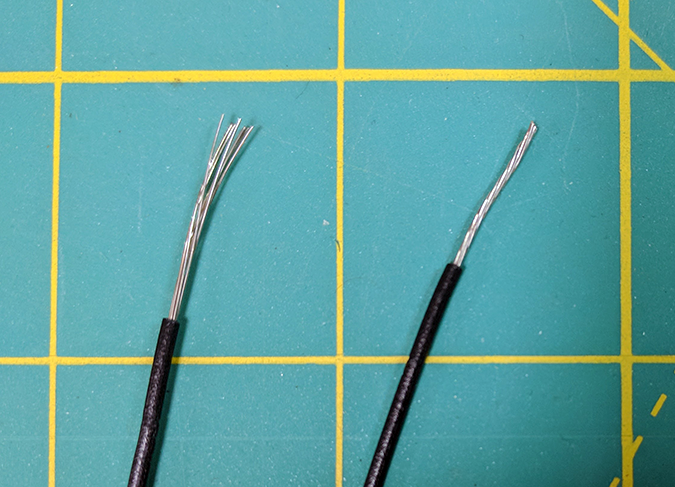
Figure 2. Carefully twist each end of the strand wire (toward left).
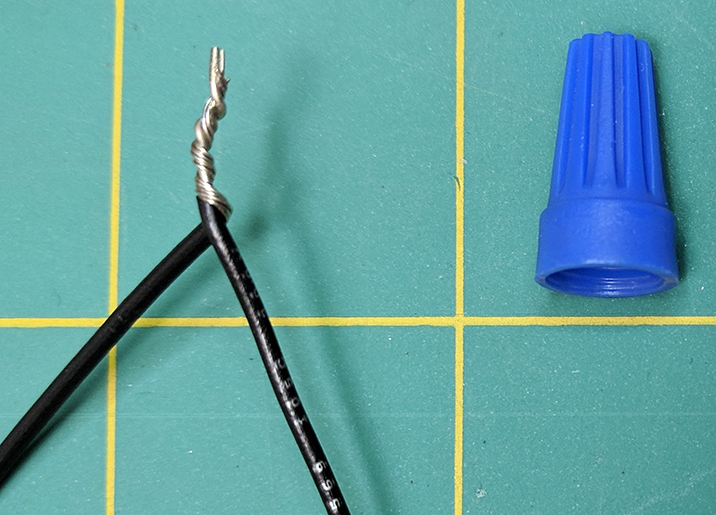
Figure 3. Twist one strand wire around one solid core wire.
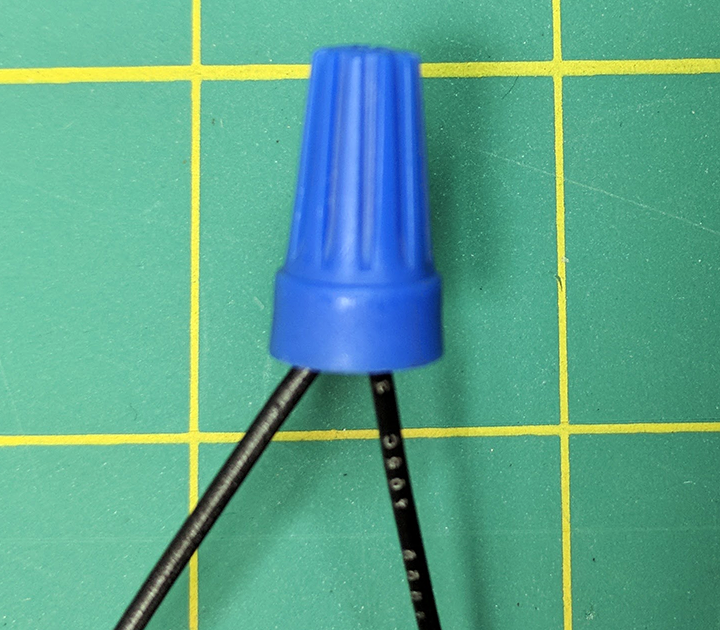
Figure 4. Push cap on gently and twist until it resists.
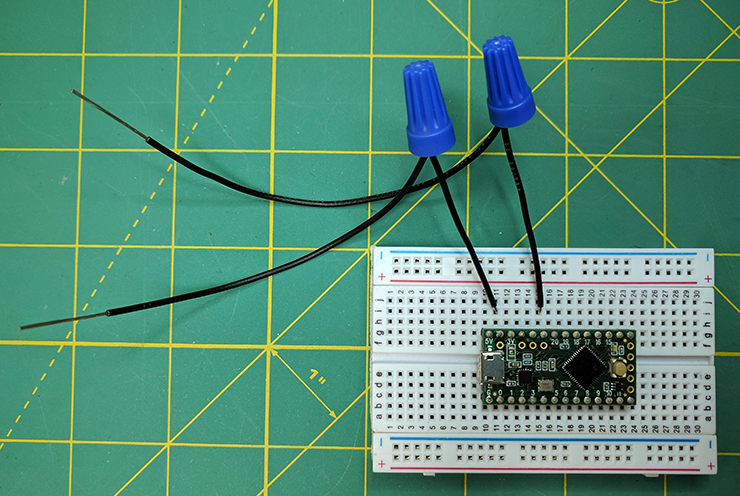
Figure 5. Repeat the previous steps twice so you have two sets of wire.

Figure 6. Connect the solid wire ends to ground and pin 21 as shown.
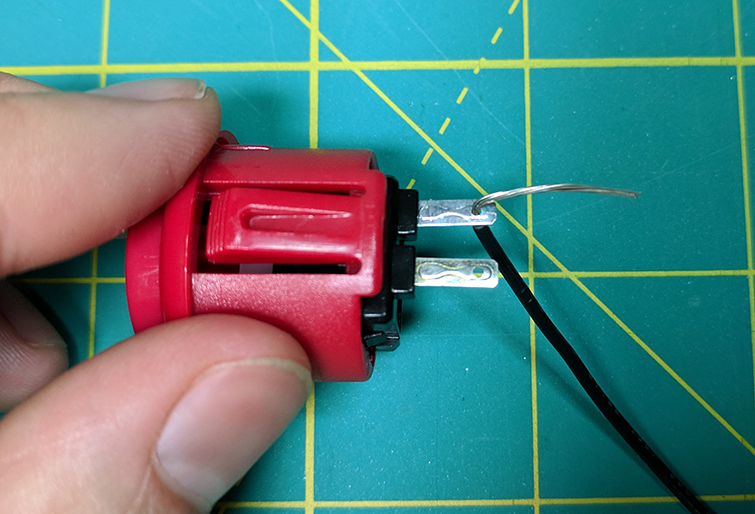
Figure 7. Thread either strand wire end through either button lead.
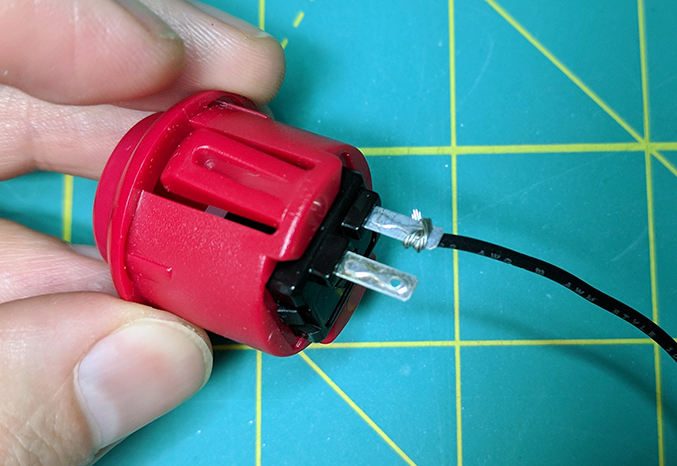
Figure 8. Wrap the excess wire around the metal lead.
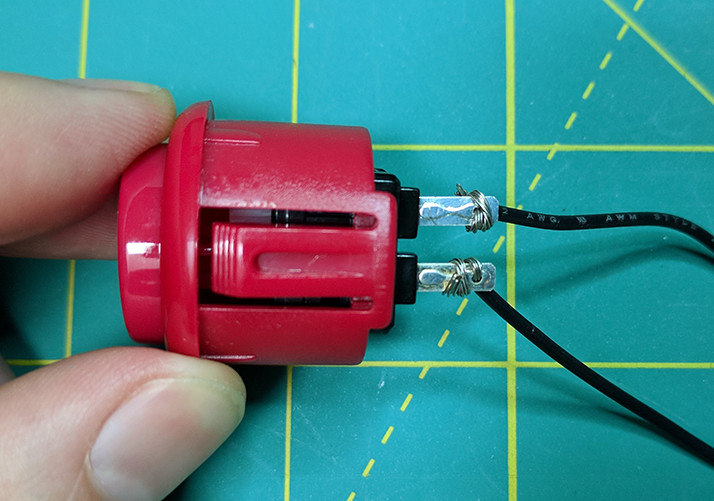
Figure 9. Repeat with the other wire end on the other lead.
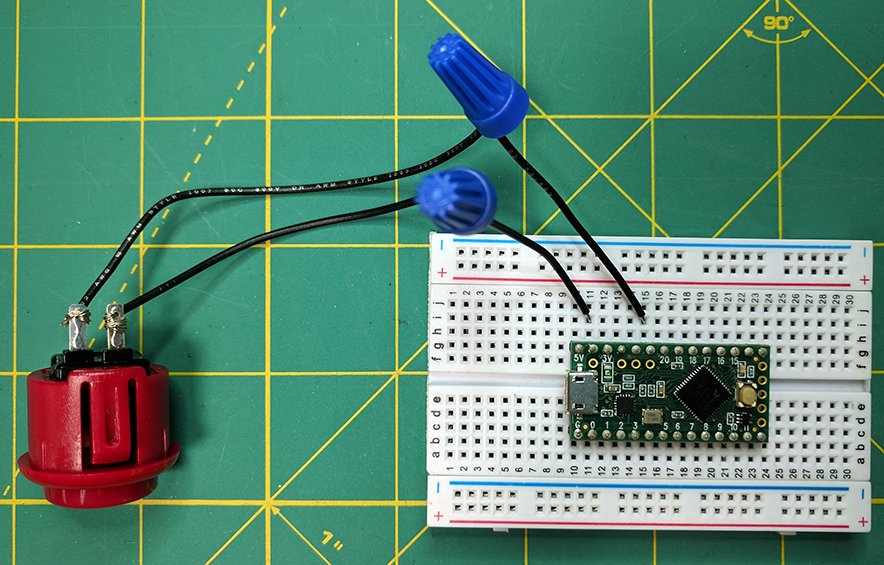
Figure 10. This is how your button hookup should look!