Setting Up Software
There are two pieces of (free) software you’ll need before you can put code on your Teensy. Our first goal will be putting on some starter code that will make your Teensy act like a keyboard. Once you’ve succeeded, make sure to take a moment and be proud of this! It isn’t a small thing.
Arduino IDE (integrated development environment)
Follow this link and download the latest version of the Arduino IDE for your operating system.
|
|
For Macs, make sure to move the downloaded app to your Applications folder. For Windows, I recommend downloading the Installer version, so follow the installation instructions after you download and open the file. |
Got it? Great! Next download!
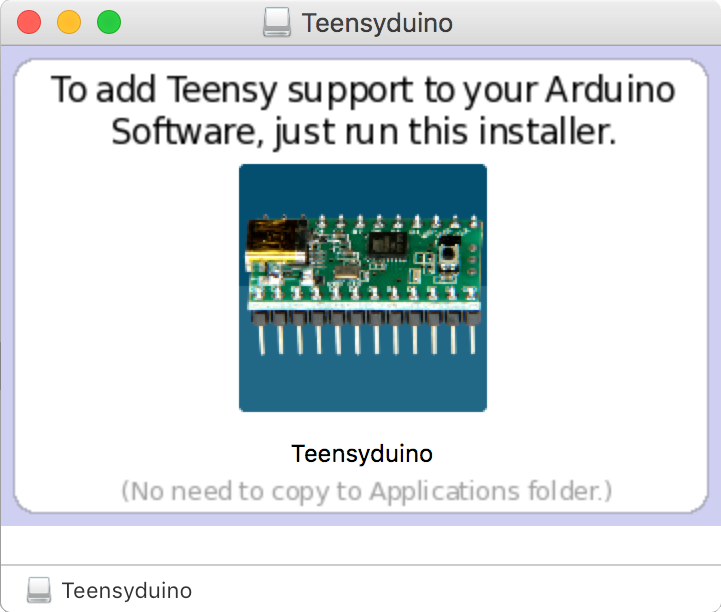
Teensyduino Addon
Again, follow the link and download the version for your operating system.
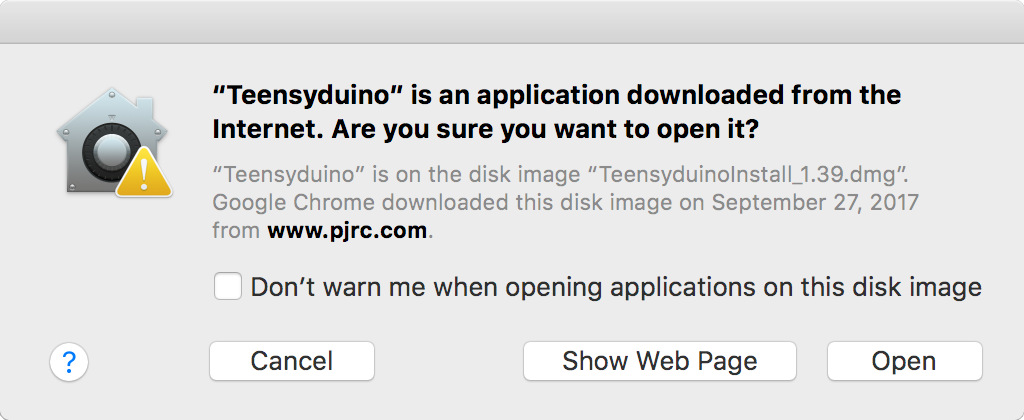
On macs, you may get this warning when opening an application you just downloaded. For the software we are using, just press open.
For Windows and Mac you’ll want to double-click the download and run the installer.
For Mac, it will ask you to Select Arduino Folder. Assuming you moved it to the Applications folder, you can scroll down until you fine Arduino.app/, select it, and click next.
Allow it to install all the options it wants and close it once it is complete. Just one more thing to download!
The Code
In order to always provide the most up-to-date code, it is hosted online using a service called Github. If you already know how to use Github, feel free to checkout the repository, or to keep it simple, just download the current version of the code.
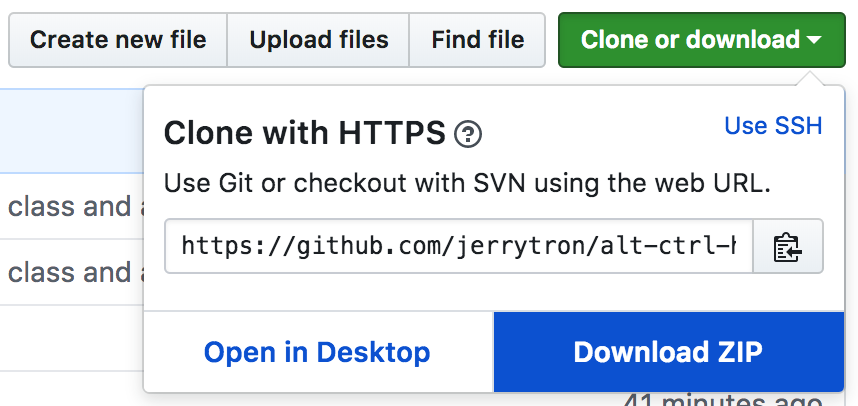
Find the Clone or download button and click.

Now click Download ZIP.
Find wherever it downloads and unzip the file. It should create a folder called alt-ctrl-hid-teensy-master. You can move this folder somewhere else if you want, just remember where you put it! In the next section we will be uploading code to your Teensy.